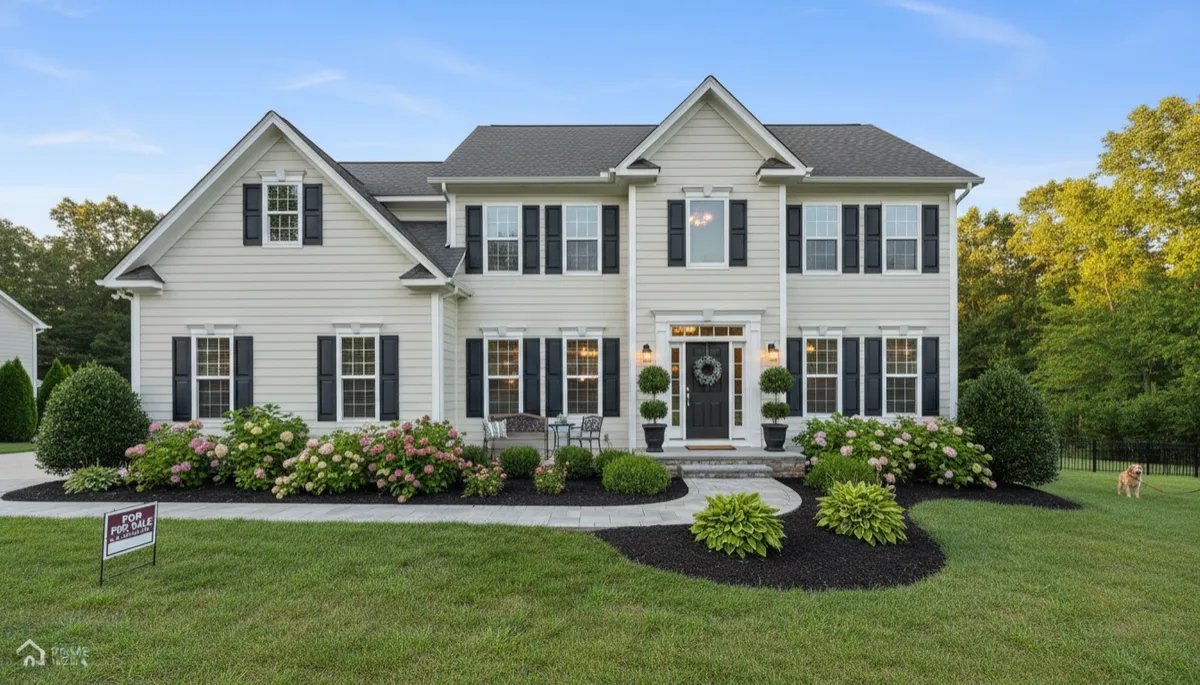
Prepare Property for Real Estate Photography
Real Estate, Realtor Photography Checklist, Home Staging for Photos
How Realtors Can Prepare a Property for Photography Day
I’m Juwan Davis, owner of Prime View Media—a real estate photographer, videographer, and FAA Part 107 certified drone pilot based in Martinsburg, West Virginia. I’ve photographed and filmed hundreds of homes across WV, VA, MD, and Washington, DC, and I can tell you this: the way a home is prepared before I walk in with my camera can make or break the final photos.
This guide is designed for busy realtors who want a clear, practical checklist they can send to sellers. No lectures—just what actually helps a shoot go smoothly, keeps post-processing simple, and makes your listing look its best online. You can also share my real estate media packages with clients at primeview-media.com/realestate.
1. Start Outside: Simple Exterior Prep That Photographs Well
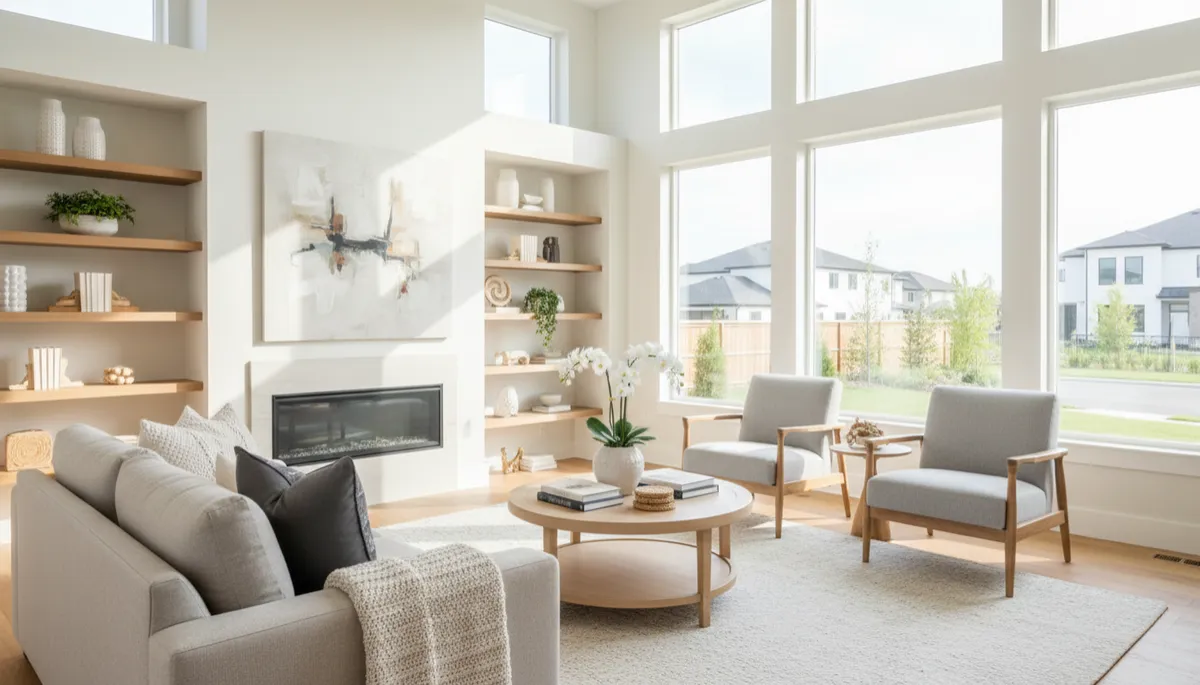
The front exterior is usually the first photo buyers see online—and they judge the whole property from that one image. A little curb appeal work goes a long way, especially in West Virginia and Virginia neighborhoods where listings compete side by side in search results.
- Mow and tidy the yard: mow the lawn, edge walkways, and remove leaves, weeds, and visible debris.
- Clear the driveway and street: move all cars, trucks, and trailers away from the front of the home if possible. A clean driveway makes the house feel bigger and less crowded in photos.
- Hide trash and recycling: roll trash and recycling bins to the side of the house or into the garage so they’re not visible from the street.
- Clear the walkway and porch: sweep steps and walkways, coil or hide hoses, and remove excess seasonal decor that might date the photos later in the year.
2. Interior Decluttering: Less Is More on Camera
Inside the home, my goal is to show space and flow, not stuff. The camera sees every pile and stack, especially in wide shots. A simple rule you can share with sellers: if it doesn’t help sell the home, consider putting it away for photos.
- Remove extra furniture that blocks walkways or makes rooms feel cramped.
- Clear surfaces—coffee tables, side tables, dressers—leaving one or two simple decor pieces at most.
- Tidy shelves and mantels; avoid long rows of small items that visually clutter a shot.
For sellers who are privacy-conscious, I also recommend removing or minimizing personal photos, kids’ names, and anything that reveals sensitive information. It keeps the focus on the home and gives you peace of mind when photos are shared widely online.
3. Light It Up: Windows, Curtains, and Bulbs
Good lighting is one of the biggest differences between “okay” photos and photos that really pop. I bring professional lighting when needed, but a few simple steps before I arrive make every room look better and speed up the session.
- Open all blinds and curtains to let in natural light, unless a window faces an eyesore you’d rather minimize.
- Turn on every light: overhead fixtures, lamps, under-cabinet lighting—if it lights up, turn it on.
- Replace burned-out bulbs before the shoot so we don’t have dark corners or mismatched fixtures in photos.
4. Kitchens & Bathrooms: Clear, Clean, and Simple
Kitchens and bathrooms are where clutter shows up the most on camera. Even a beautiful space can look busy if every surface is full. Here’s what I recommend before I arrive:
- In the kitchen: clear and wipe countertops; put away dish racks, sponges, soap bottles, paper towels, and most small appliances. A bowl of fruit or one neat tray is plenty.
- Remove fridge magnets, kids’ artwork, and schedules that can distract in wide shots.
- In bathrooms: clear countertops of personal products, toothbrushes, razors, and cleaning supplies. Close toilet lids and hang fresh, neutral towels.
When these spaces are clean and simple, buyers can imagine their own routines there—whether they’re in Martinsburg, Winchester, Hagerstown, or the DC suburbs.
5. Bedrooms: Comfortable, Calm, and Camera-Ready
Bedrooms don’t need to be staged like a model home, but they do need to feel tidy and restful. A few quick tasks make a big difference in photos:
- Make all beds with smooth, pulled-tight bedding; fluff pillows and add a simple throw if available.
- Clear nightstands of cords, remotes, stacks of books, and personal items—one lamp and one small decor piece is usually enough.
- Tuck away laundry baskets, clothing piles, and anything stored under beds that might peek into the frame.
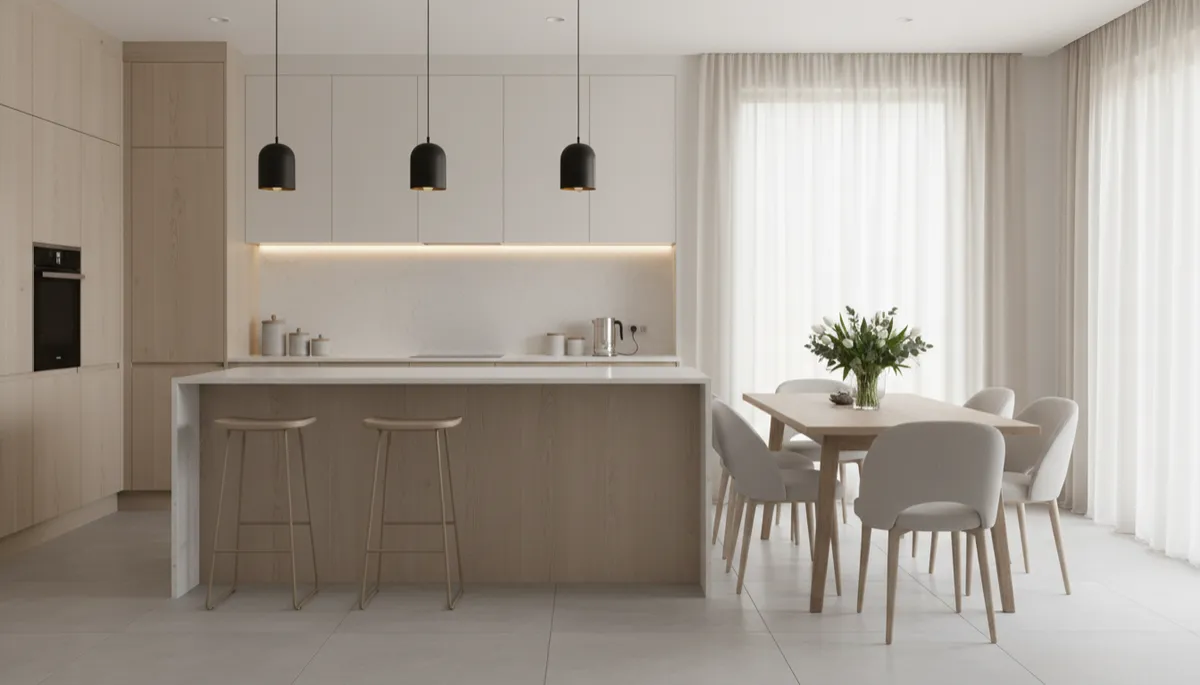
Simple, clutter-free staging helps buyers focus on space and features, not belongings.
6. Pets: Safe, Calm, and Out of the Frame
I love pets, and I meet a lot of them on shoots—but for the short time I’m there, it’s best if they’re secured or off-site. It keeps them safe and keeps the session moving quickly for your clients.
- Arrange for pets to be out of the house, crated, or contained in a room we won’t be photographing.
- Put away pet beds, bowls, toys, litter boxes, and scratching posts in all areas that will be photographed.
7. What to Communicate to Your Photographer Beforehand
Clear communication before photography day is one of the best ways to protect your time as an agent. When you book with Prime View Media, sharing a few details upfront helps me plan gear, timing, and shot list for your listing.
- Property basics: full address, approximate square footage, number of levels, and whether it’s vacant or occupied.
- Access instructions: lockbox codes, gate codes, parking notes, and whether you or the seller will be present.
- Must-have features: views, outdoor living spaces, fireplaces, built-ins, or community amenities you definitely want highlighted in the final gallery.
- Timing considerations: when certain rooms get the best light, or windows of time when pets or contractors will be away.
When I know your priorities and the property’s strengths ahead of time, I can shoot with your marketing plan in mind—not just “pretty pictures.”
Book Your Next Listing with Prime View Media
Preparing a home for real estate photography doesn’t have to be complicated. With a clear checklist and a little planning, your sellers can help you create photos that stand out in competitive WV, VA, MD, and DC markets. That’s exactly what this guide—and my work at Prime View Media—is here to support.
If you’d like to see what’s included in my photo, video, and drone packages for realtors, visit primeview-media.com/realestate. When you’re ready to schedule, you can book your next listing shoot directly at primeview-media.com/contact.
Ready to go? Share this guide with your next seller, have them follow the steps above, and I’ll handle the rest—from front curb to final edited gallery.